Oct
How To Grow Marijuana Seeds
DLI Backed 16/8–18/6 Seedling Light Schedule for Beginners
Run your grow light on a 16/8 or 18/6 schedule once seedlings emerge, staying within the commonly recommended 12 to 16 hour range depending on your fixture and room. Avoid leaving lights on 24 hours a day as a routine habit, since seedlings need a true dark period to process the energy they absorbed. The moment you see the first sprout, switch the light on and set a timer so the schedule repeats automatically every day.
TL;DR:
- Using a 16/8 or 18/6 light cycle supports healthy seedling growth, with the exact hours depending on fixture strength and room brightness.
- Total daily light dose, measured as DLI, is more important than hours alone, with a target of 8 to 12 mol/m²/day for vigorous growth.
- Proper fixture distance and maintaining canopy temperature between 68 to 78°F are critical to prevent stretching or bleaching of seedlings.
- Consistent schedule and fixed setup, including timer and light distance, help seedlings establish steady growth during early stages.
- Better seed genetics, like feminized or autoflower strains, increase the chances of success when followed by correct lighting and care.
Table of Contents
- Recommended light schedules and when to use each
- How light dose and photoperiod work together
- Setting up your fixture, distance, and timer correctly
- Diagnosing common seedling problems quickly
- Moving from indoor light to outdoor or transplant conditions
- What the evidence says about seedling lighting
- Three rules worth keeping on the wall
- Seed quality that sets up a stronger start
- Sources
- FAQ
Recommended light schedules and when to use each
A 16/8 or 18/6 cycle gives seedlings enough total light to grow sturdy without pushing them into the stress that comes from nonstop exposure. Extension guidance commonly points growers toward 12 to 16 hours per day after emergence, and many home growers extend that to 18 hours when their fixture runs on the weaker side. The exact number you pick depends less on a fixed rule and more on how much light your setup actually delivers.
Two things change your ideal hour count:
- A stronger fixture positioned close to the canopy can produce the same daily light total in fewer hours.
- A dim grow room with little ambient daylight needs more hours to reach that same total, while a bright windowsill setup can run fewer.
Here is a simple way to pick your starting point:
- Start at 18/6 if your light is a low-output LED bar or a single fluorescent tube.
- Start at 16/8 if you are running a stronger full-spectrum horticultural LED or multiple T5 tubes.
- Hold whichever schedule you choose for at least a week before changing anything, since consistency matters more than squeezing out an extra hour here and there.
Autoflowering seedlings can stay on an 18/6 cycle straight through to vegetative growth, since they do not rely on a photoperiod shift to trigger flowering. Photoperiod seedlings, by contrast, should stay on their seedling schedule until you deliberately move them into the vegetative stage, where you will typically extend hours further before eventually shortening them to trigger flowering. Mixing up the timing of that switch, more than the exact seedling hour count, is what tends to cause scheduling problems later on. If you are deciding between seed types in the first place, it helps to understand the practical difference between autoflower and photoperiod seeds before you commit to a schedule.
How light dose and photoperiod work together
Hours on a timer only tell part of the story. What actually matters to a seedling is the total amount of light energy it receives each day, a figure growers call the Daily Light Integral, or DLI. DLI combines your light’s intensity, measured as PPFD (Photosynthetic Photon Flux Density), with the number of hours it runs.
The formula is simple: DLI = PPFD × hours × 0.0036. This conversion matters because it means two very different setups, a weak light running long hours and a strong light running short hours, can deliver an identical daily dose.
For seedlings and clones, practical DLI targets look like this:
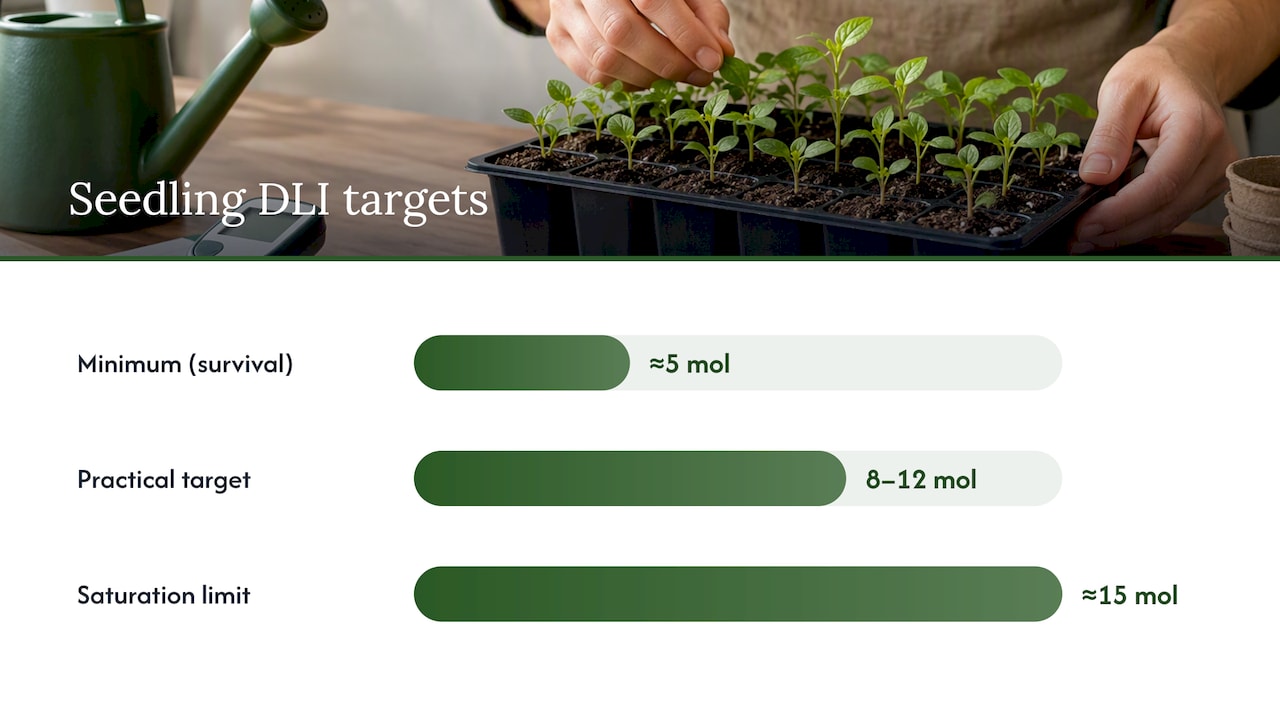
- A minimum of around 5 mol/m²/day keeps seedlings alive but growing slowly.
- A practical target of 8 to 12 mol/m²/day supports vigorous, compact seedling growth, based on DLI tables for seedlings and clones.
- Pushing past roughly 15 mol/m²/day tends to hit a saturation point where extra light stops adding benefit.
There is a real trade-off here. Long hours at low PPFD can hit your DLI target, but the plant still needs its dark period regardless of how the hours are split, since the dark phase supports metabolic processes that light exposure interrupts. Short, intense sessions at high PPFD hit the same DLI faster, but only if your fixture is strong enough to avoid bleaching the seedling at close range.
If you do not own a PAR meter, you can still make reasonable decisions. Keep fluorescent tubes within a few inches of the canopy, place LEDs further back according to the manufacturer’s guidance, and watch the plant for 24 to 48 hours after any change before adjusting again.
Setting up your fixture, distance, and timer correctly
Getting the hardware right matters as much as picking the right hour count. Three fixture types cover most home setups:
- T5 or other fluorescent tubes run cool and are forgiving for beginners, but they produce lower intensity and often need longer daily runtimes to hit a useful DLI.
- Low-output LED bars sit in a middle ground: moderate heat, moderate intensity, and a wide range of safe distances depending on the model.
- Full-spectrum horticultural LEDs deliver strong intensity in fewer hours but generate more heat and risk bleaching seedlings if placed too close.
Starting distance depends on which type you are running. Fluorescents generally start at 2 to 4 inches from the canopy, with some T5 fixtures tolerating up to 6 inches. Low-output LEDs typically start further back, somewhere in the 6 to 18 inch range, since manufacturer output varies widely. Raise any fixture roughly once a week as the seedling grows taller, rather than waiting until leaves touch the bulb.
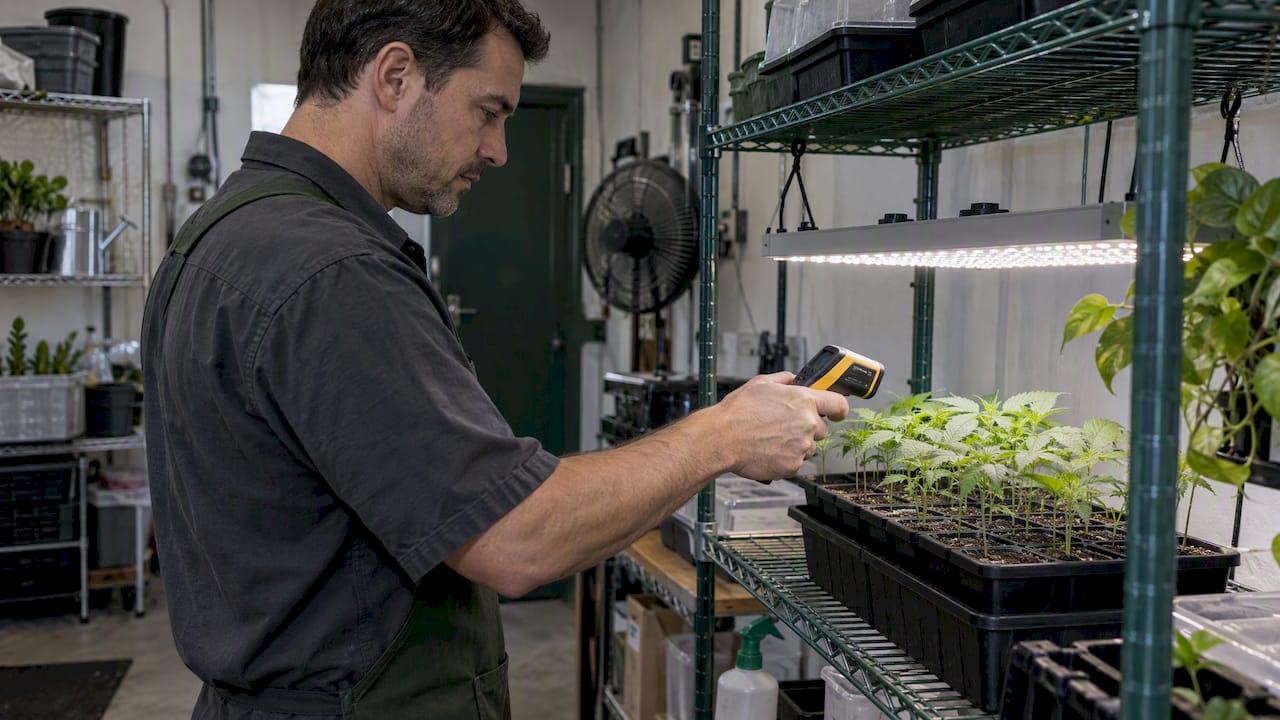
Heat is the variable beginners miss most often. Check canopy temperature with a basic thermometer or an infrared gun and keep it in the range of roughly 68 to 78°F. A seedling stretching upward may not be light-starved at all. It may be reaching away from excess heat, which looks identical to legginess at a glance.
Pro Tip: Set a digital outlet timer once, confirm it fires correctly for two full cycles, and then leave the schedule alone. The biggest cause of uneven seedling growth is a schedule that changes every few days instead of staying fixed.
Diagnosing common seedling problems quickly
Most scheduling-related seedling problems trace back to one of three causes: light intensity, distance, or heat. A short diagnostic order saves time compared with guessing.
- Check temperature first. Canopy heat above roughly 78°F produces the same stretched, pale appearance people often blame on light.
- Check distance second. A fixture positioned too far away under-delivers PPFD, while one too close can bleach leaf tips.
- Check light intensity third. If temperature and distance both look correct but growth stays slow, your fixture may simply be too weak for the space, meaning your effective DLI is falling below the 5 mol/m²/day minimum.
- Confirm timer consistency last. A timer that skips a cycle or resets after a power outage can throw off even a well-planned schedule for days before anyone notices.
Legginess almost always points to low PPFD, excess distance, or heat stress rather than too few hours, so the fix is usually to move the light closer or add a cooling fan rather than extending the photoperiod. Bleaching or crisped leaf edges point the other way: the fixture is too close or too intense for the current growth stage. Slow, stunted growth that survives the first three checks often has nothing to do with light at all and instead traces back to temperature swings or early nutrient issues. For visual troubleshooting once plants mature further, including spotting early signs of plant sex, growers sometimes also reference guides like how to tell if a marijuana plant is male or female.
A tray with one or two struggling seedlings among healthy ones usually just needs individual attention, repositioning that seedling closer to or further from the light source. A tray where every seedling shows the same symptom points to a setup-wide issue, meaning the fix needs to happen at the fixture or timer level, not plant by plant.
Moving from indoor light to outdoor or transplant conditions
Begin hardening off once seedlings have developed a few sets of true leaves and feel sturdy to the touch, typically two to three weeks after emergence. Rushing this step before stems have thickened tends to produce setbacks once plants face real sun and wind.
A gradual ramp-up over seven to ten days works better than a sudden switch:
- Start with an hour or two of filtered outdoor light on day one, ideally in shade or dappled sun.
- Add roughly one additional hour of outdoor exposure each day while trimming back indoor light hours by a similar amount.
- Check soil moisture more frequently during this period, since outdoor air and breezes dry trays out faster than an indoor grow space.
- Watch the weather forecast closely and delay the transition during cold snaps, heavy wind, or intense midday sun.
By the end of the ramp-up, most seedlings tolerate a full day outdoors, at which point artificial light can stop entirely or shift to a supplemental role indoors before transplanting. For a fuller picture of what changes once seedlings move past this point, the marijuana plant stages overview covers the adjustments that follow.
What the evidence says about seedling lighting
The schedule in this guide rests on a small set of consistent recommendations rather than guesswork. Extension horticulture programs commonly suggest 12 to 16 hours of light daily for seedlings, framing the dark period as a requirement rather than an optional extra. DLI calculations give that recommendation a numeric backbone: seedlings and clones generally need 8 to 12 mol/m²/day to grow vigorously, and that target can be reached through different combinations of hours and intensity. Practical setup resources add the hands-on detail extension sheets sometimes skip, like starting distances by fixture type and the habit of raising lights weekly as seedlings grow.
None of this depends on exotic equipment. A basic timer, a tape measure, and a cheap thermometer cover almost every adjustment a beginner needs to make in the first few weeks.
Seed quality plays its own part in how smoothly those first weeks go. Growers who want a deeper look at the stage that follows seedling care can check the cannabis flowering stage guide for a full lighting plan through to harvest.
Three rules worth keeping on the wall
Beginners tend to overthink light schedules when three fixed habits solve most problems. Fix the timer first: pick 16/8 or 18/6, confirm it fires correctly, and leave it alone for at least a week. Fix the distance second: measure it once with a ruler or tape measure instead of eyeballing it, and only move the light on a weekly schedule rather than daily. Check heat third, every time a seedling looks stressed, before touching the timer or the fixture height at all.
Repeatability beats constant tinkering in these early weeks. A seedling adjusting to a new distance or a new hour count every few days never settles into steady growth, even when every individual change seems reasonable on its own. Once your plants are through the seedling stage and you want to fine-tune further, a basic PAR meter turns guesswork into a number you can actually track.
*— The *
Seed quality that sets up a stronger start
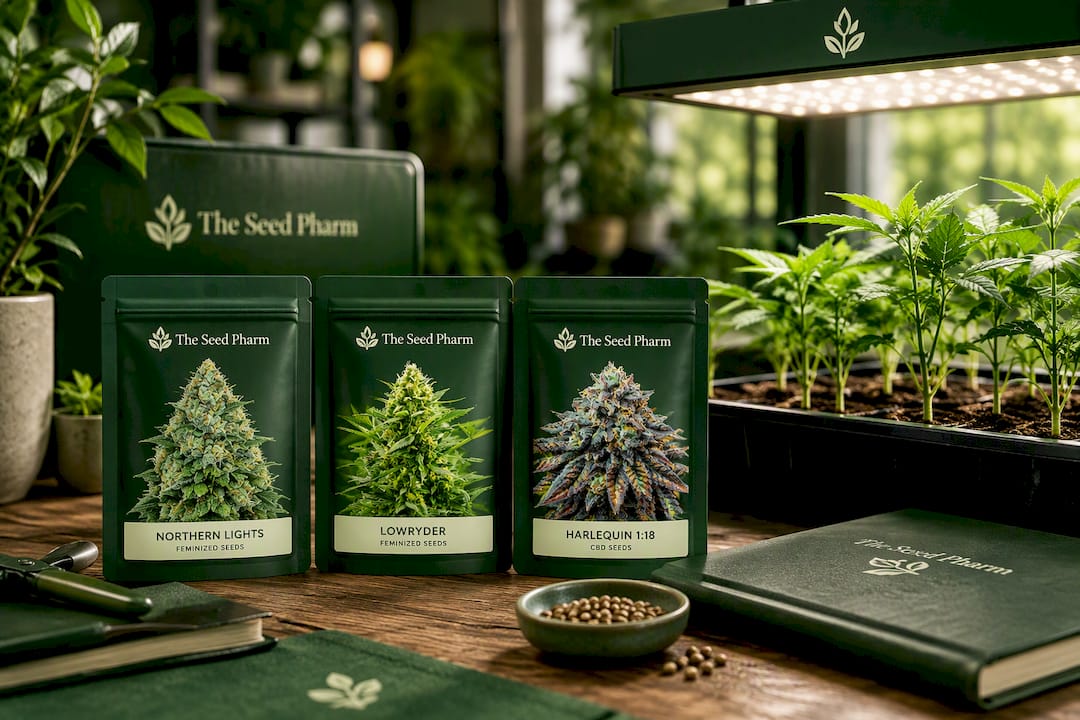
Fewer early failures start with better genetics, and that is the gap The Seed Pharm fills for growers setting up their first tray under lights.
A few options suit beginners working through their first seedling schedule:
- Northern Lights Strain Feminized Seeds offer a forgiving, well-documented genetic line for growers still learning to read their plants.
- Lowryder Strain Feminized Seeds suit growers who want an autoflowering option that stays on a simple 18/6 schedule from seedling through to harvest.
- Harlequin 1:18 Strain CBD Seeds work well for growers prioritizing a CBD-forward profile without a complicated feeding or lighting routine.
For the step before any of this, the germination guide walks through exactly what to do before that first light switch flips on. Browse the full range of feminized, autoflower, and CBD seeds to find the right starting point for your next grow.
Sources
- Growing seedlings under lights fact sheet | UNH Extension
- Daily Light Integral (DLI) Calculator – CleverCalculator
- Grow lights for seedlings: the complete setup | Urban Harvest Lab
FAQ
Can I leave my grow light on 24 hours for seedlings?
Running a light nonstop is not recommended as a routine schedule, since seedlings need a daily dark period for normal metabolic processes. Sticking to 12 to 18 hours with a true dark phase produces sturdier growth than continuous light.
How close should light be to seedlings?
Distance depends on fixture type: fluorescents generally start at 2 to 4 inches from the canopy, while low-output LEDs often start further back, around 6 to 18 inches. Raise the fixture roughly once a week as seedlings grow taller, and check canopy heat if you notice stretching.
When should I expose seedlings to light?
Switch the grow light on the day seedlings first emerge from the soil, since germination itself depends mainly on warmth and moisture rather than light. Delaying light exposure after emergence is one of the most common causes of early stretching.
How should I set up grow lights for seedlings?
Start with a timer set to 16/8 or 18/6, position the fixture at the starting distance appropriate for its type, and check canopy temperature regularly to rule out heat stress. Keep the schedule fixed for at least a week before making any adjustments, since consistency matters more than chasing a perfect hour count.
Recommended